Describes howto install Ubuntu Lucid 10.04 LTS (32-Bit or 64-Bit) on a Citrix XenServer 5.6 FP1 and convert the virtual machine into a template.
Note: Click to enlarge a picture.
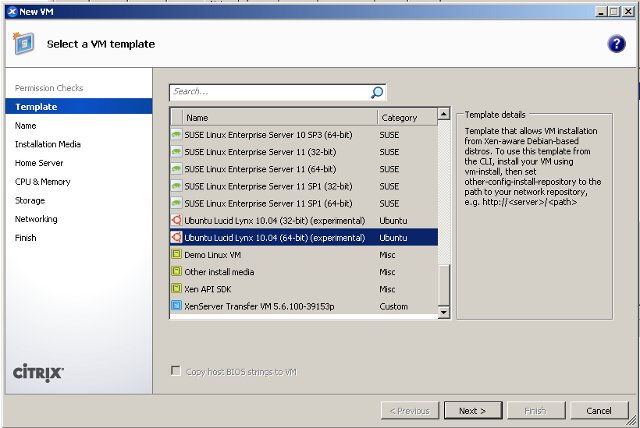
1. Create a new virtual machine
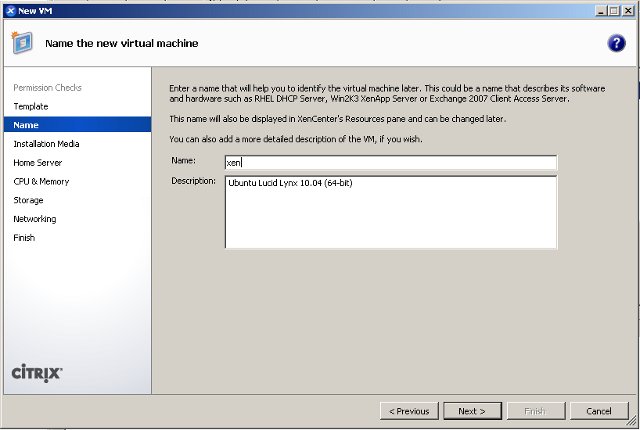
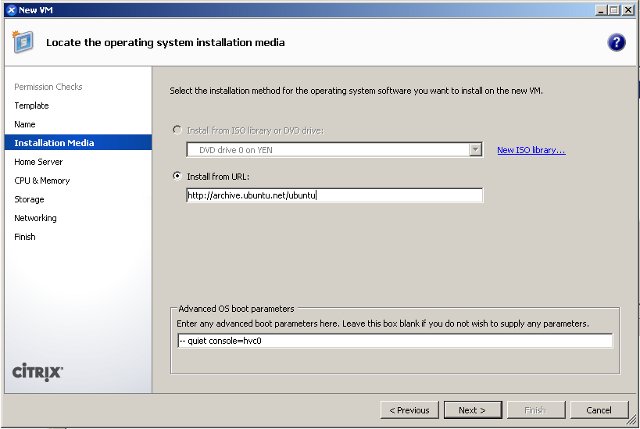
Select template „Ubuntu Lucid Lynx 10.04 (64-bit)“ and choose name and description for your virtual machine (or 32-Bit if necessary). Select „Install from URL“ and insert the URL http://archive.ubuntu.net/ubuntu
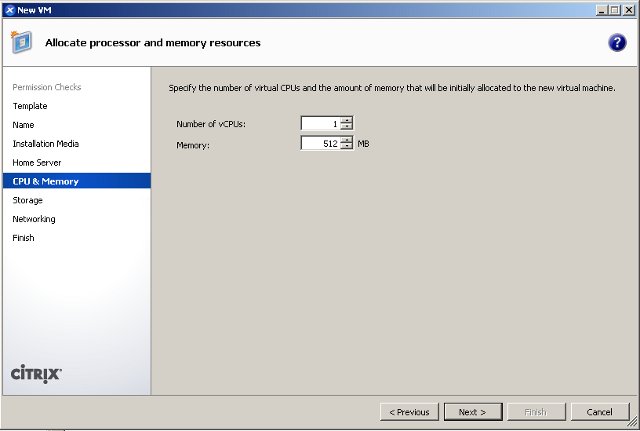
Specify the number of vCPUs and the memory for your virtual machine and create the virtual disks.
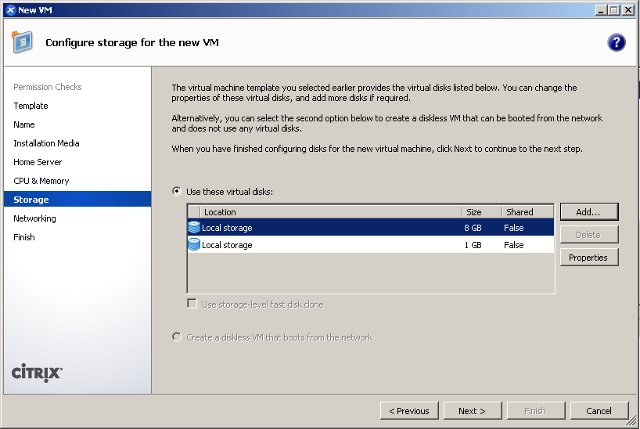
I choose a 8 GB Disk for the system and 1 GB for the swap disk.Ich habe eine 8 GB Disk für das System gewählt und eine 1 GB Disk für SWAP.
By using 2 different disks i can delete the swap partition if i don’t need it or can replace disks with bigger ones.
At least add network interfaces to your VM. This depends on your XenServer network setup. Choose a bonding or single interface here for example and finish the virtual machine wizzard.
XenServer now builds your virtual machine and start it.
If the virtual machine is ready open the console to the virtual machine and start the installation of Ubuntu:
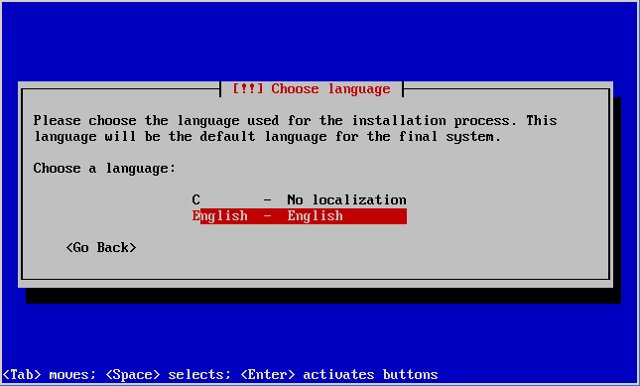
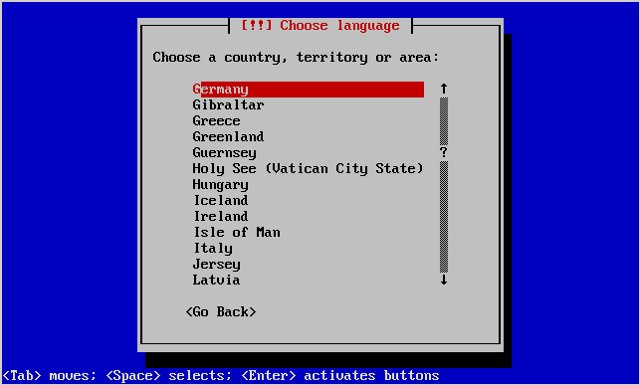
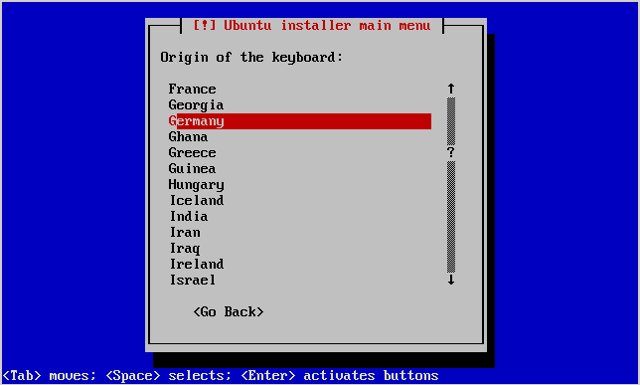
Choose your country and keyboard layout and configurate the network interface.
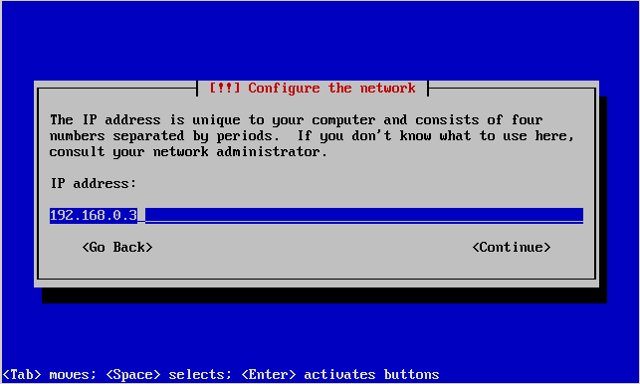
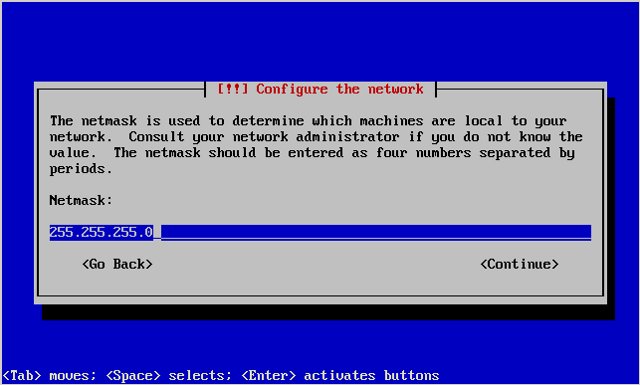
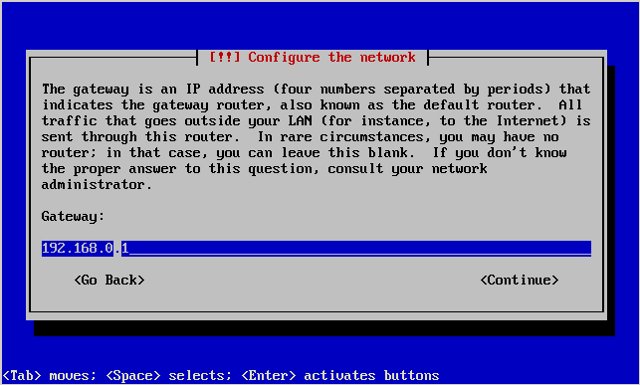
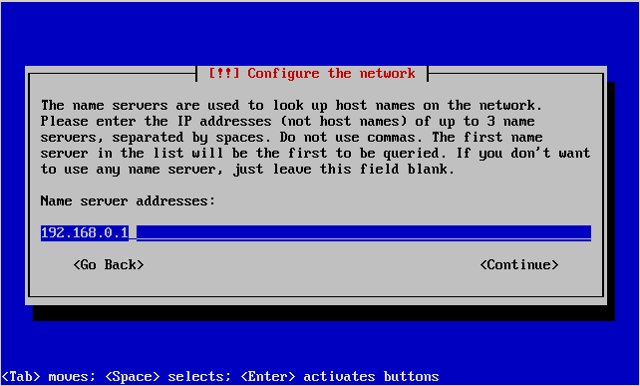
If you don’t have a DHCP Server in your network you choose „manual“ and configurate the network by hand.
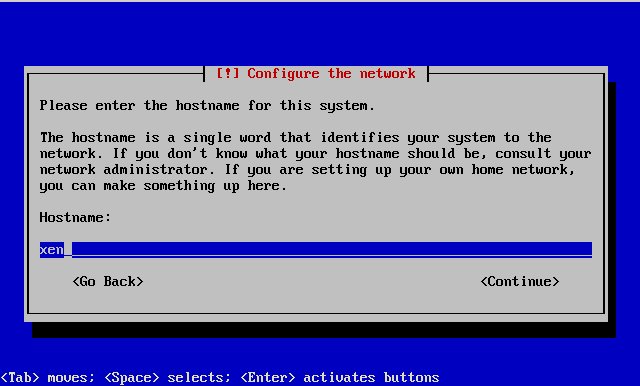
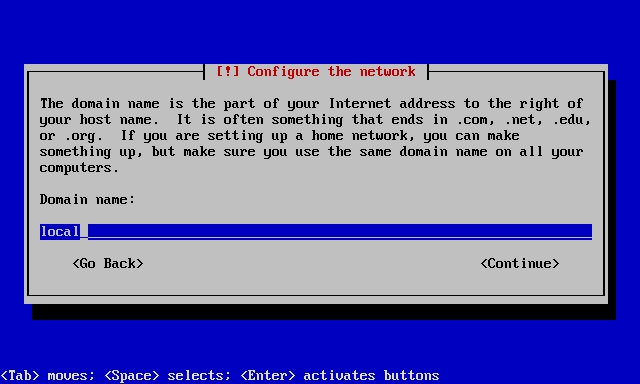
Enter the hostname and domain name. In this example, my system is called xen.local, so I enter xen and local:
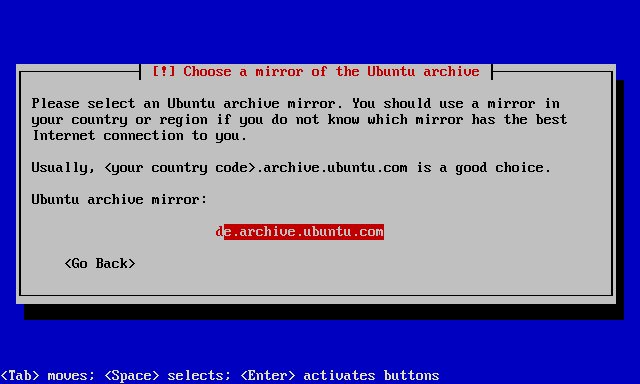
Choose a mirror of the Ubuntu archive.
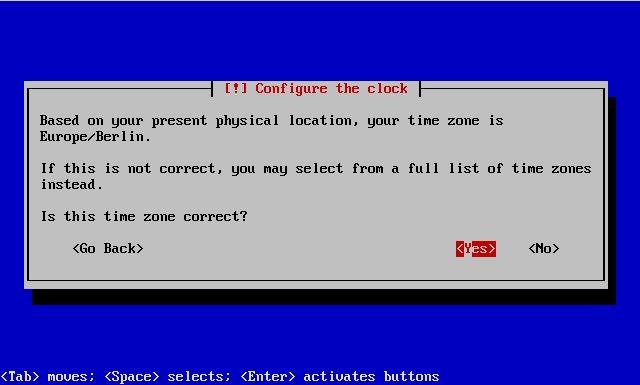
Please check if the installer detected your time zone correctly. If so, select Yes, otherwise No.
Partitioning
Now you have to partition your hard disks.
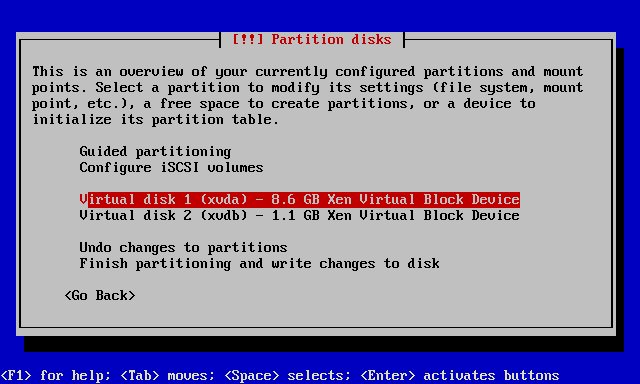
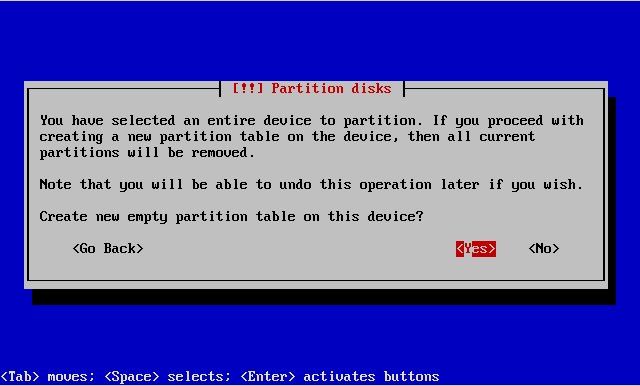
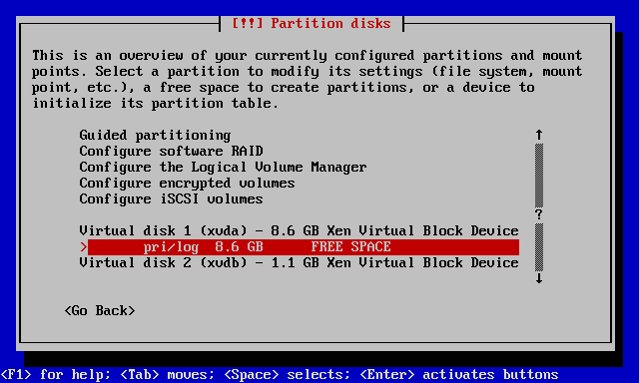
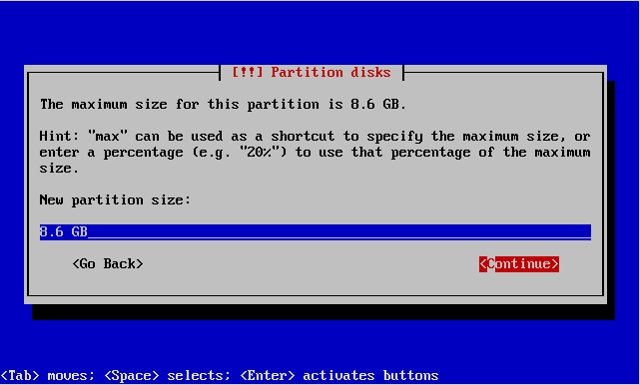
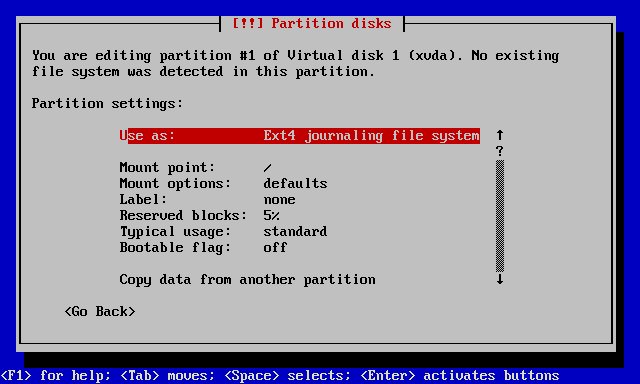
First select „manual“ and select the first virtual disk „xvda“. Create a new empty partition table and select the free disk space to create a new partition.
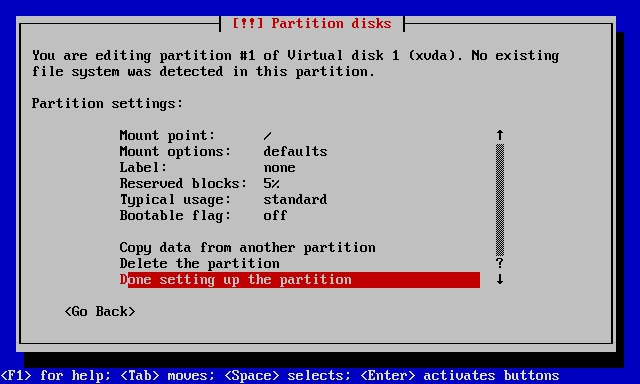
Use this partition as „Ext4 journaling file system“ and as „/“ mount point.


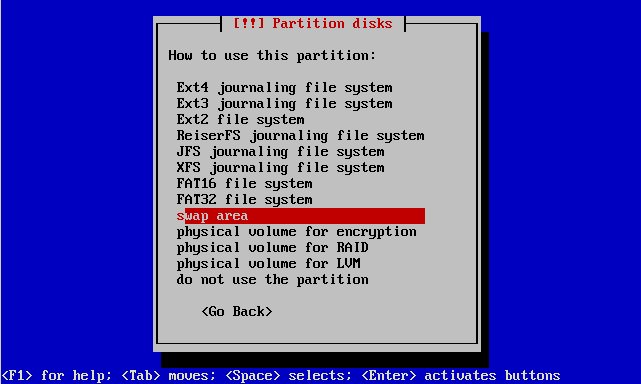
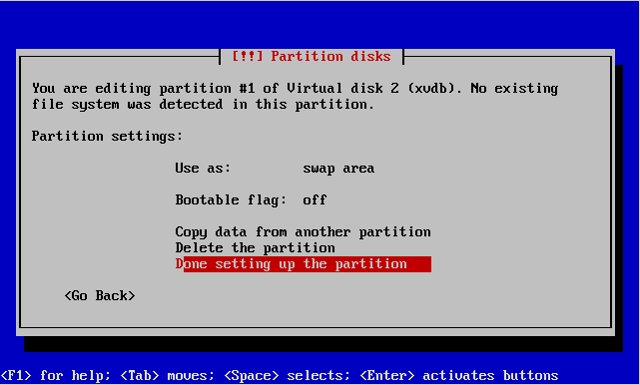
Now repeat all with „xvdb“ but now create a „swap area“.
The partitioning is totally up to you – if you know what you’re doing, you can also set up different partitions.
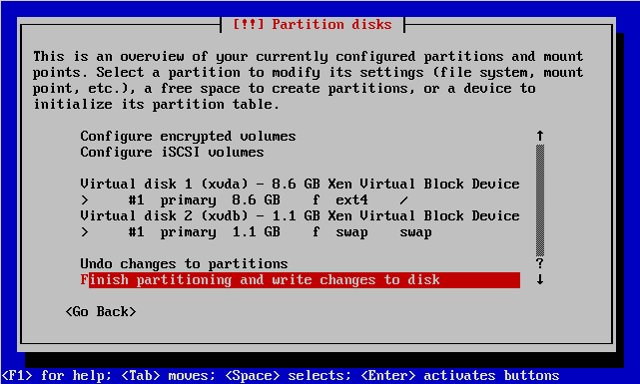
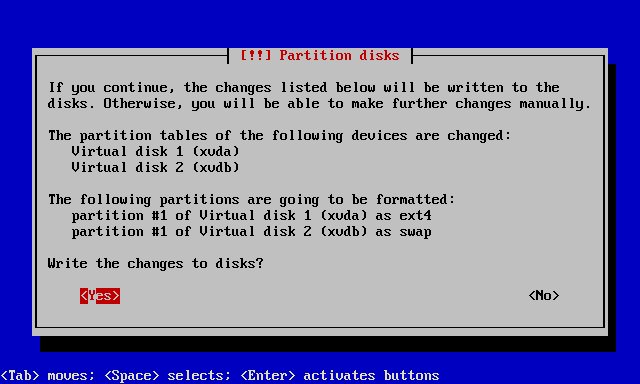
At least „Finish partitioning“ and select „Yes“ when you are asked „Write the changes to disks“. Now the new partitions are being created and formatted.
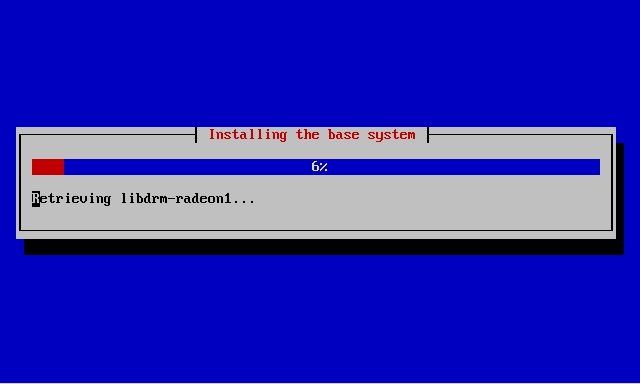
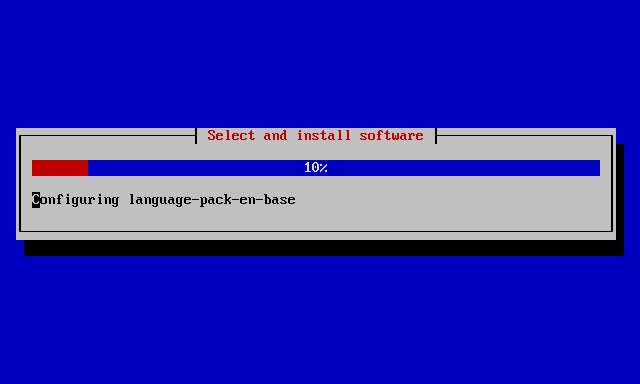
Afterwards the base system is being installed:
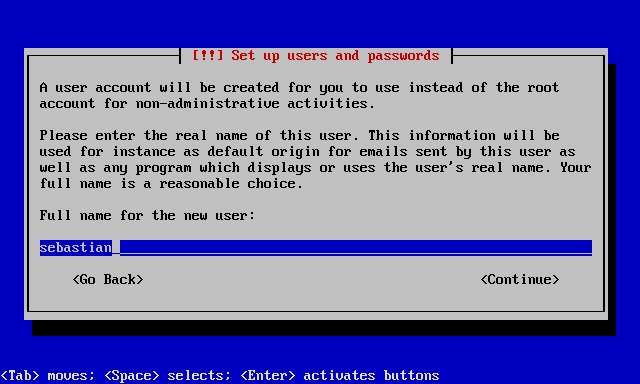
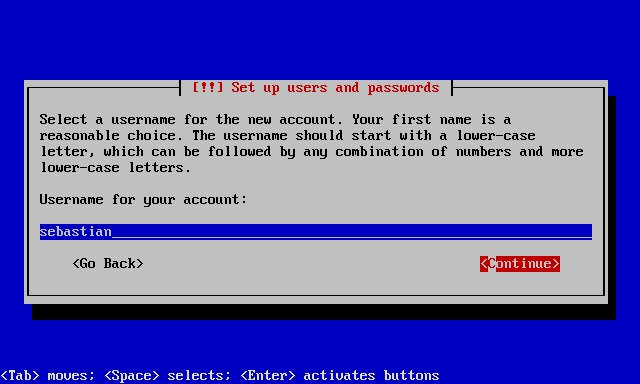
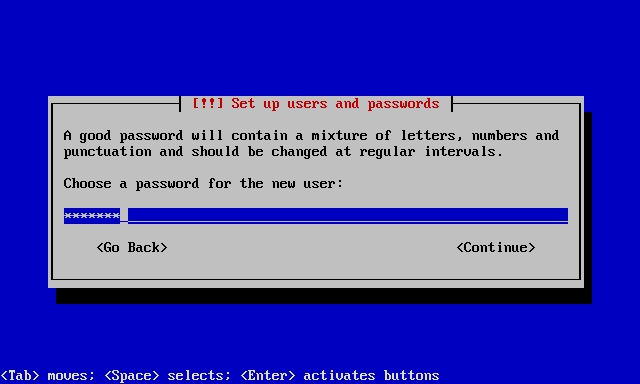
Create a user, for example the user „sebastian“ with the user name „sebastian“:
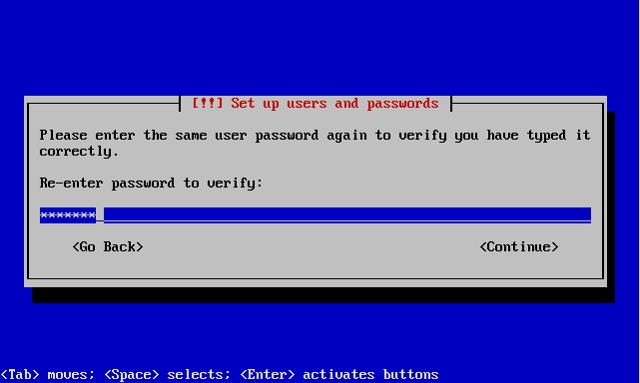
Note: I don’t need an encrypted private directory, so I choose No here.
Next the package manager apt gets configured. Leave the HTTP proxy line empty unless you’re using a proxy server to connect to the Internet.
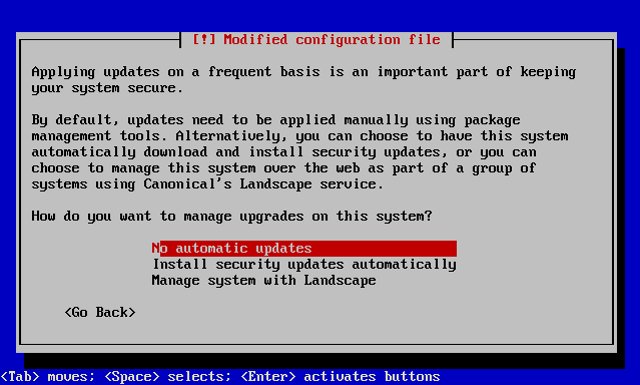
I select „No automatic updates“. Of course, it’s up to you what you select here. But on a server i usually want to install the updates by myself.
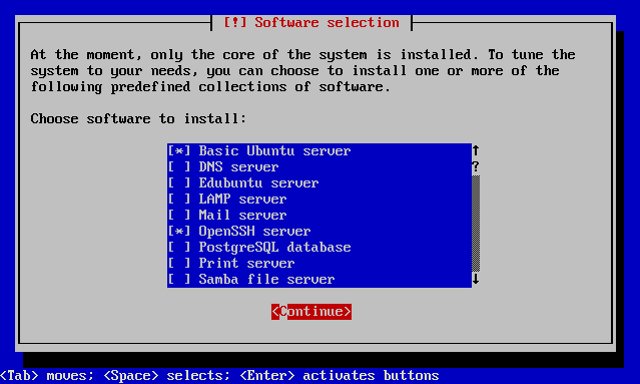
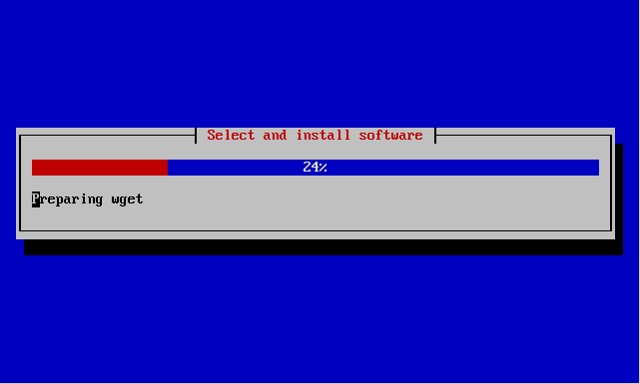
Make your choce about automatic updates. Now the installer installs the system and download some essential packets. Make a small software selecten. I choose „Basic Ubuntu server“ and „OpenSSH server“ to get a small virtual machine.
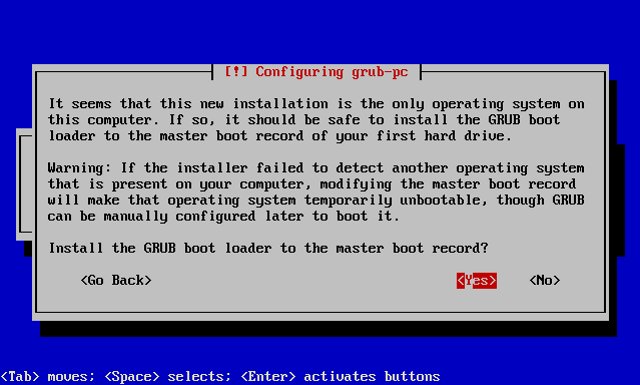
Now the GRUB boot loader gets installed. Select „Yes“ when you are asked „Install the GRUB boot loader to the master boot record?“.
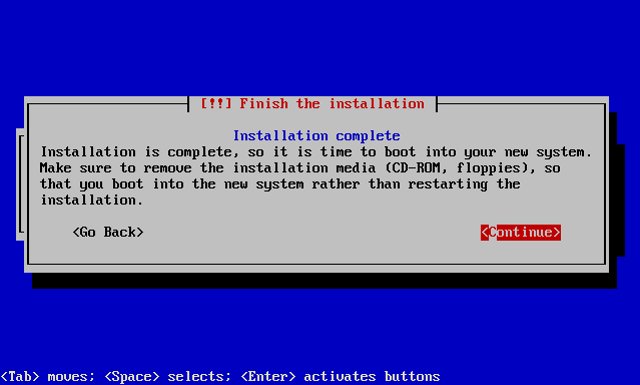
The base system installation is now finished. Hit „Continue“ to reboot the system.
2. Install XEN Tools
In XenCenter, attach „xs-tools.iso“ to the DVD drive of the VM.Verbinde im XenCenter „xs-tools.iso“ mit der virtuellen Maschine.
Mount „xs-tools.iso“, install the correct XenServer Tools package (replace amd64 with i386 if necessary) and unmount „xs-tools.iso“.
mount /dev/cdrom /mnt
dpkg -i /mnt/Linux/xe-guest-utilities_5.6.100-647_amd64.deb
umount /mnt/
At least reboot the VM. Make sure the services run at boot time. If not try this:
update-rc.d -f xe-linux-distribution remove
update-rc.d xe-linux-distribution defaults
Reboot the VM for the last time.
3. Convert to template
Install all software on your virtual machine you need on all virtual machines and make all settings you need.
After you have made all your changes and settings shut down the virtual machine.
„Right click“ on the virtual machine in your inventory and select „Convert to Template“.
Now you can create new virtual machines with a basic setup for your environment.
Select „New VM from template“ and choose your custom template.
Ueliton
12 Apr. 2011Thanks! Excellent article.
Gian
20 Mai 2011Thanks a lot. Just 2 quotes :
– I had to use ftp://archive.ubuntu.com/ubuntu as repository but I couldn’t figure out why
– To deal with the bug in ubuntu kernel that crashes the VM passing fron host to host in a xen cluster I installed linux-image-virtual-lts-backport-natty and linux-headers-virtual-lts-backport-natty from ppa repository
bye
Adam
20 Juni 2011What is the purpose of the install Xen Tools step?
sebastian
20 Juni 2011What do you mean ?
I want to install the xen server tools on every machine. So i installed it 🙂 before create the template.
If you create a new virtual machine from the template, the tools are already installed.
Rob
6 Aug. 2011Good info about the template creation – a lot of people don’t realize that and they spend the time to create a new one from scratch each time!
al
12 Aug. 2011the url http://archive.ubuntu.net/ubuntu is no more avaible to download install files!
sebastian
16 Aug. 2011I make a test right now and it works.
You can also use http://de.archive.ubuntu.com/ubuntu or replace de with your country.
Michael Wagener
27 Sep. 2011Brilliant tutorial – worked perfectly first time.
P.S.: I lost your site for a bit – managed to close it before I had made a note of it – took a moment to find you again – but well worth the effort.
Soooo, thank you! 🙂