In 2016, I wrote an article for the Linux Magazine about an personal search engine:
* Suchmaschinenserver im Eigenbau (Ausgabe 02/2016)
* Go Find It (Issue #186 / May 2016)
A lot has changed in the past few years. New Nutch versions, new Solr versions and of course new OS versions.
Here is a little updated tutorial to install Apache Nutch on Debian 10 with Solr as indexer.
I started with a plain Debian installation for this.
Prerequirements
You need a good editor like Vim, sudo to set up the Solr core and JDK to run Solr. You can install all with:
apt install sudo vim default-jdk
Install solr
Every version of Nutch is built against a specific Solr version! (https://cwiki.apache.org/confluence/display/nutch/NutchTutorial#NutchTutorial-SetupSolrforsearch)
The currently latest version of Nutch 1.x is 1.16 which is built against Solr 7.3.1
cd ~
wget http://archive.apache.org/dist/lucene/solr/7.3.1/solr-7.3.1.tgz
tar xvf solr-7.3.1.tgz
cd solr-7.3.1/bin/
./install_solr_service.sh ~/solr-7.3.1.tgz
Enable Solr on boot:
systemctl enable solr solr.service
You can test the Solr installation by opening the „Solr Admin“ with your browser: http://YOUR_SERVER:8983/solr
Install Nutch
Download and install Nutch
cd ~
wget http://archive.apache.org/dist/nutch/1.16/apache-nutch-1.16-bin.tar.gz
tar vfx apache-nutch-1.16-bin.tar.gz
mv apache-nutch-1.16 /opt/
ln -s /opt/apache-nutch-1.16 /opt/nutch
Configurate Solr for Nutch
First we need to create a configset:
mkdir -p /opt/solr/server/solr/configsets/nutch/
cp -r /opt/solr/server/solr/configsets/_default/* /opt/solr/server/solr/configsets/nutch/
rm /opt/solr/server/solr/configsets/nutch/conf/managed-schema
Note: With Nutch 1.16, the schema.xml is not contained in the binary package. Please download the schema.xml from the source repository.
http://archive.apache.org/dist/nutch/1.16/apache-nutch-1.16-src.tar.gz
tar vfx apache-nutch-1.16-src.tar.gz
cp apache-nutch-1.16/src/plugin/indexer-solr/schema.xml /opt/solr/server/solr/configsets/nutch/conf/
Or use the most recent schema.xml from Nutch, which I used for this setup.
cd ~
wget https://raw.githubusercontent.com/apache/nutch/master/src/plugin/indexer-solr/schema.xml
cp schema.xml /opt/solr/server/solr/configsets/nutch/conf/
Now restart your solr server with:
systemctl restart solr
To create the nutch core run:
sudo -u solr /opt/solr/bin/solr create -c nutch -d /opt/solr/server/solr/configsets/nutch/conf/
Don’t create the core as root user!
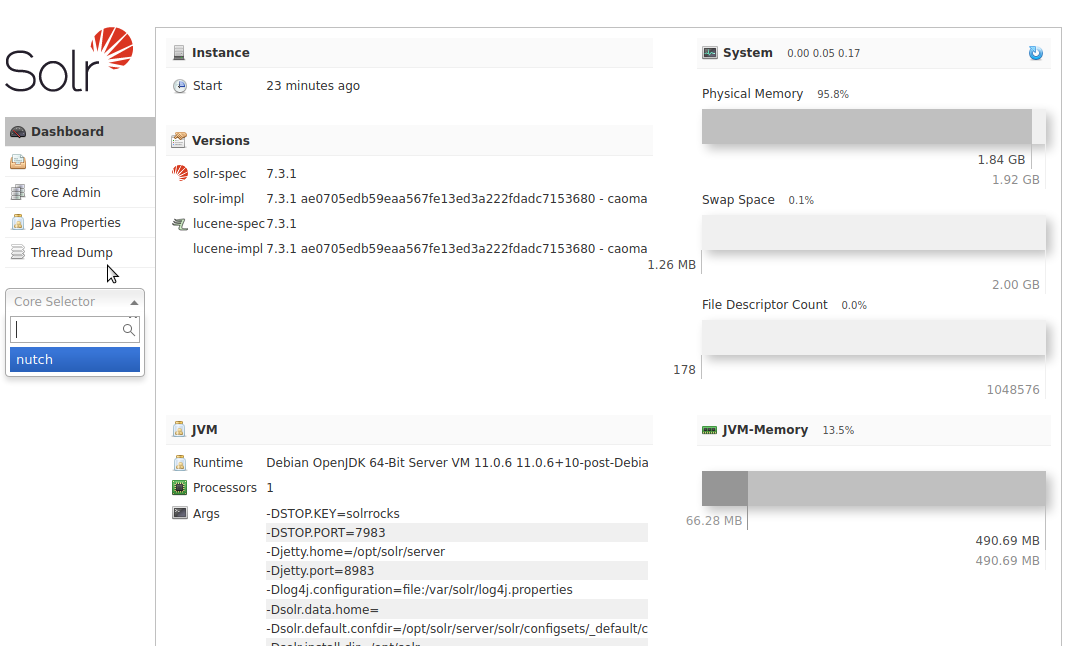
You should now see an „Nutch“ core in your „Solr Admin“:
Configure Nutch
All settings with descriptions are in the config file „/opt/nutch/conf/nutch-default.xml“ you should not change the settings in this file. Overwrite them in „/opt/nutch/conf/nutch-site.xml“ instead.
Here is a minimal setup. You must set an http.agent.name!
<?xml version="1.0"?>
<?xml-stylesheet type="text/xsl" href="configuration.xsl"?>

<configuration>

  <property>
          <name>http.agent.name</name>
          <value>My Search Agent</value>
  </property>

</configuration>
The indexers are configured in „/opt/nutch/conf/index-writers.xml“. For example if you run Solr on a different server you have to change the server address in this file.
Crawl
Create a seed file with one or more URLs for the crawler.
mkdir /opt/nutch/urls
echo 'http://www.mogilowski.net' > /opt/nutch/urls/seed.txt
I only want to crawl my own website, so I disable all other URLs.
Edit „/opt/nutch/conf/regex-urlfilter.txt“ and add the following line:
+^(http|https)://www.mogilowski.net
On the end of the file I changed “+.” to “-.” to deny all other URLs.
Now we can start the crawl.
/opt/nutch/bin/crawl -i -s /opt/nutch/urls/ /opt/nutch/crawl/ 10
If you get errors because you don’t have any JAVA_HOME
Open „/etc/profile“ with your favorite editor and add the following lines:
export JAVA_HOME="/usr/lib/jvm/default-java"
export PATH=$JAVA_HOME/bin:$PATH
Log out and back in after this changes. Or execute the two line direct in your shell.
Now the crawler makes the first 10 rounds you may increase that number and but this in your crontab.
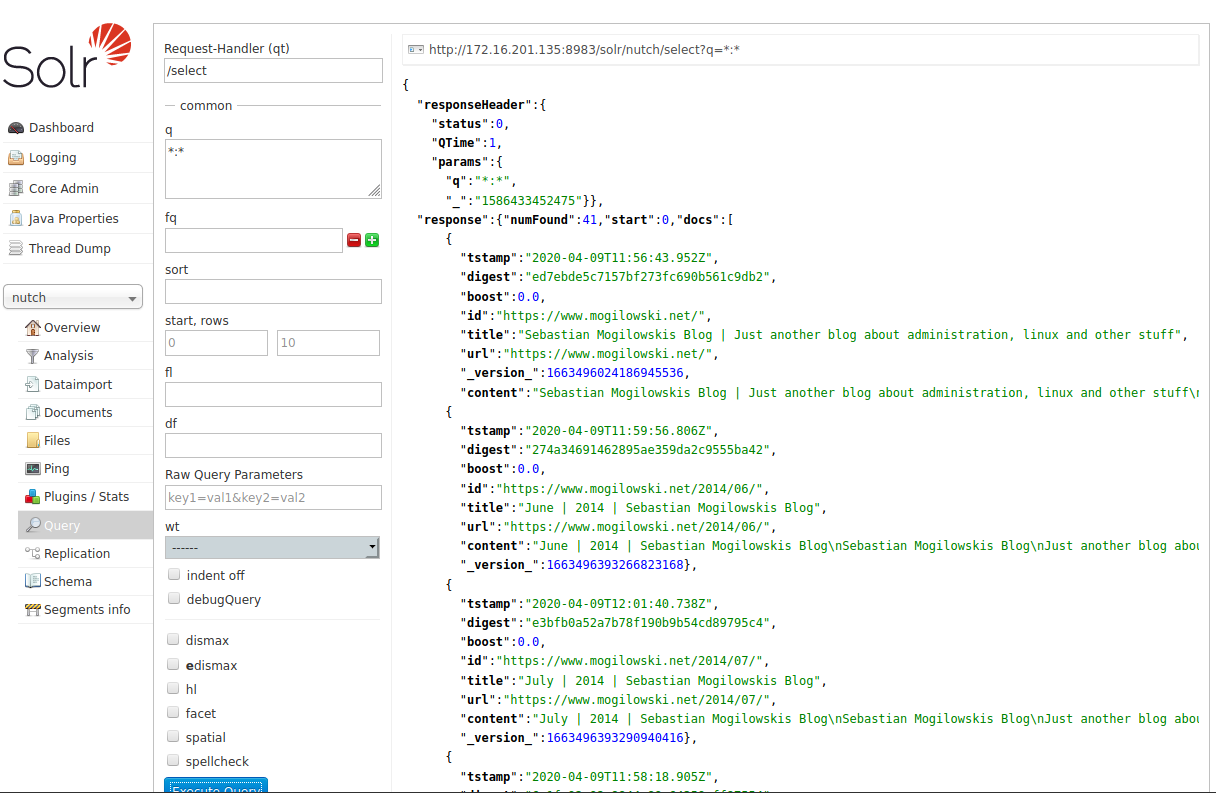
After a while, the first entries should be visible in your „Solr Admin“:
For a search-engine-like web interface, read part 2.
Pingback: Your own search engine Part 2 – Webinterface