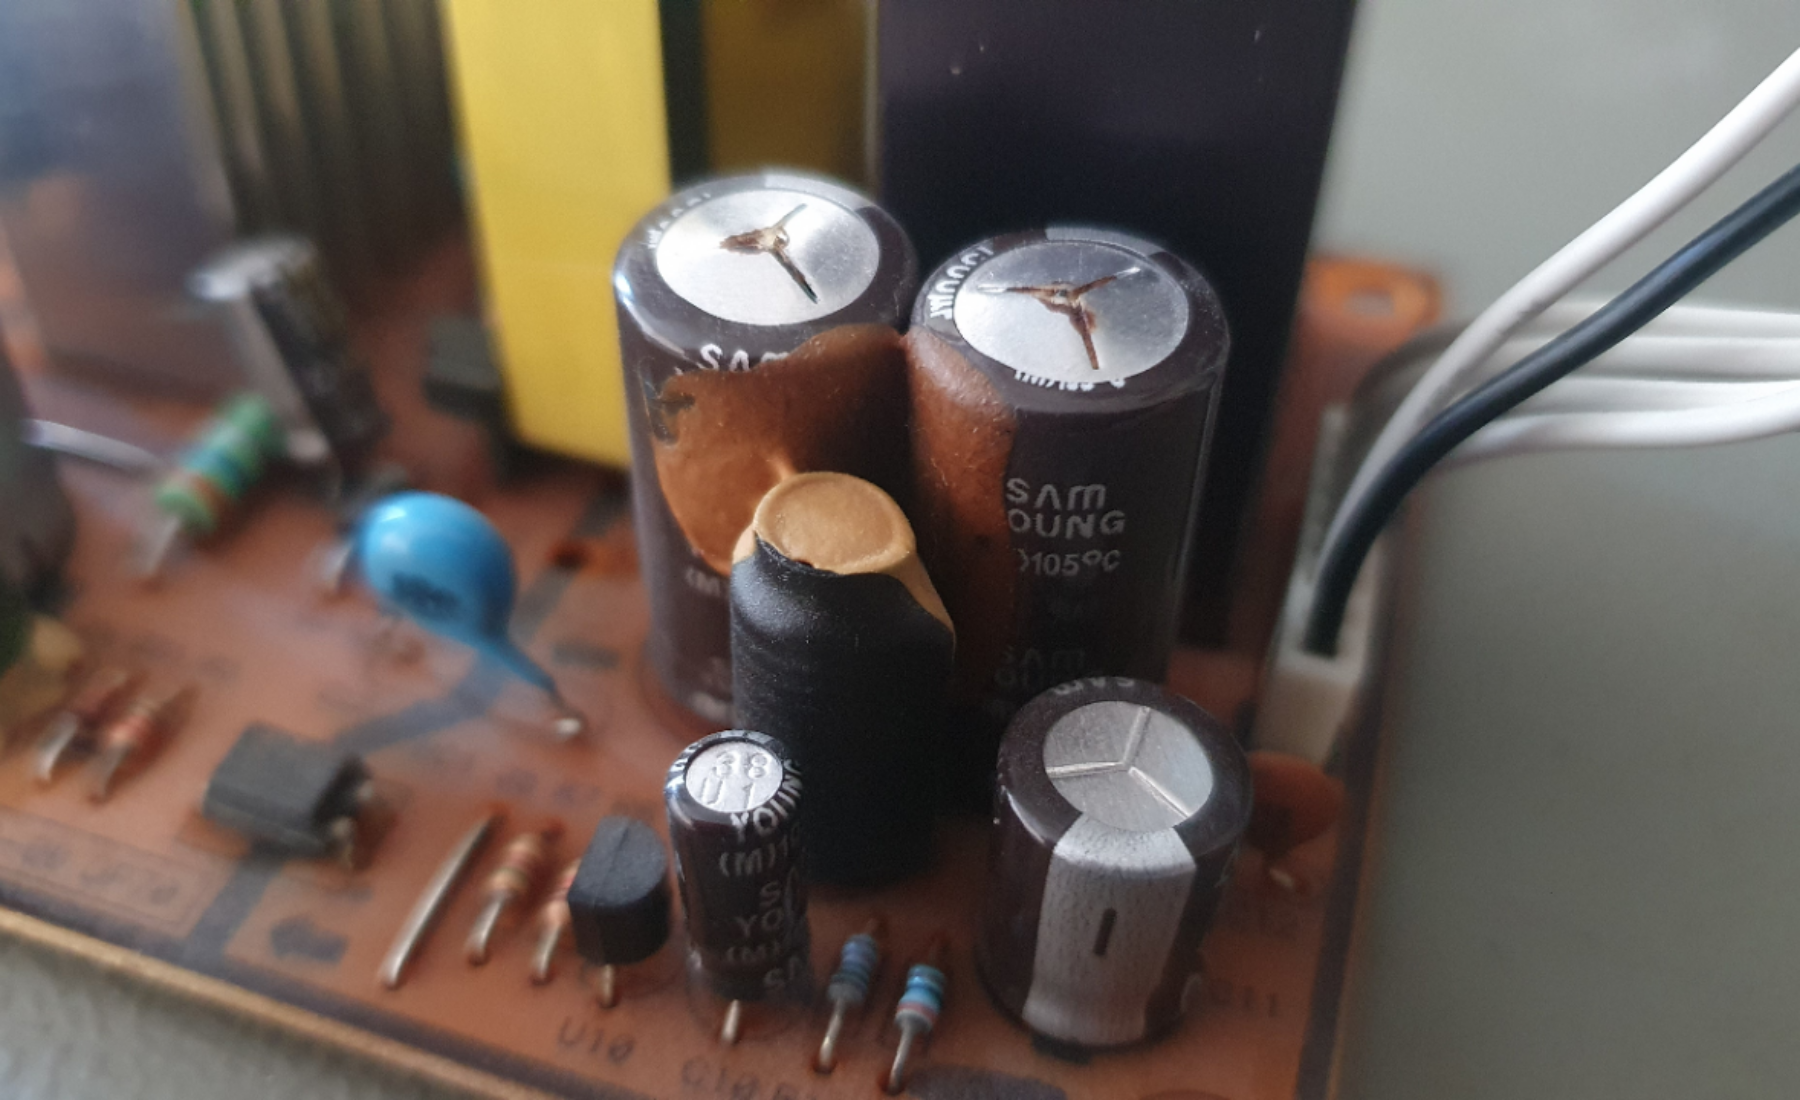
VU+ Duo2 white blinking LED – Fixing the power supply
One day i heard a the HDD of my VU+ Duo2 clicking. Afer a power cycle there was only a flashing blinking white LED on the receiver. After i opend…
One day i heard a the HDD of my VU+ Duo2 clicking. Afer a power cycle there was only a flashing blinking white LED on the receiver. After i opend…
How to build an End Fed Antenna for 10m/20m and 40m. It is also possible to build one for 80m and 160m. I used this manual from PD7MAA http://pa-11019.blogspot.com/2012/04/149-transformer-for-endfed-antennas-35.html. I…
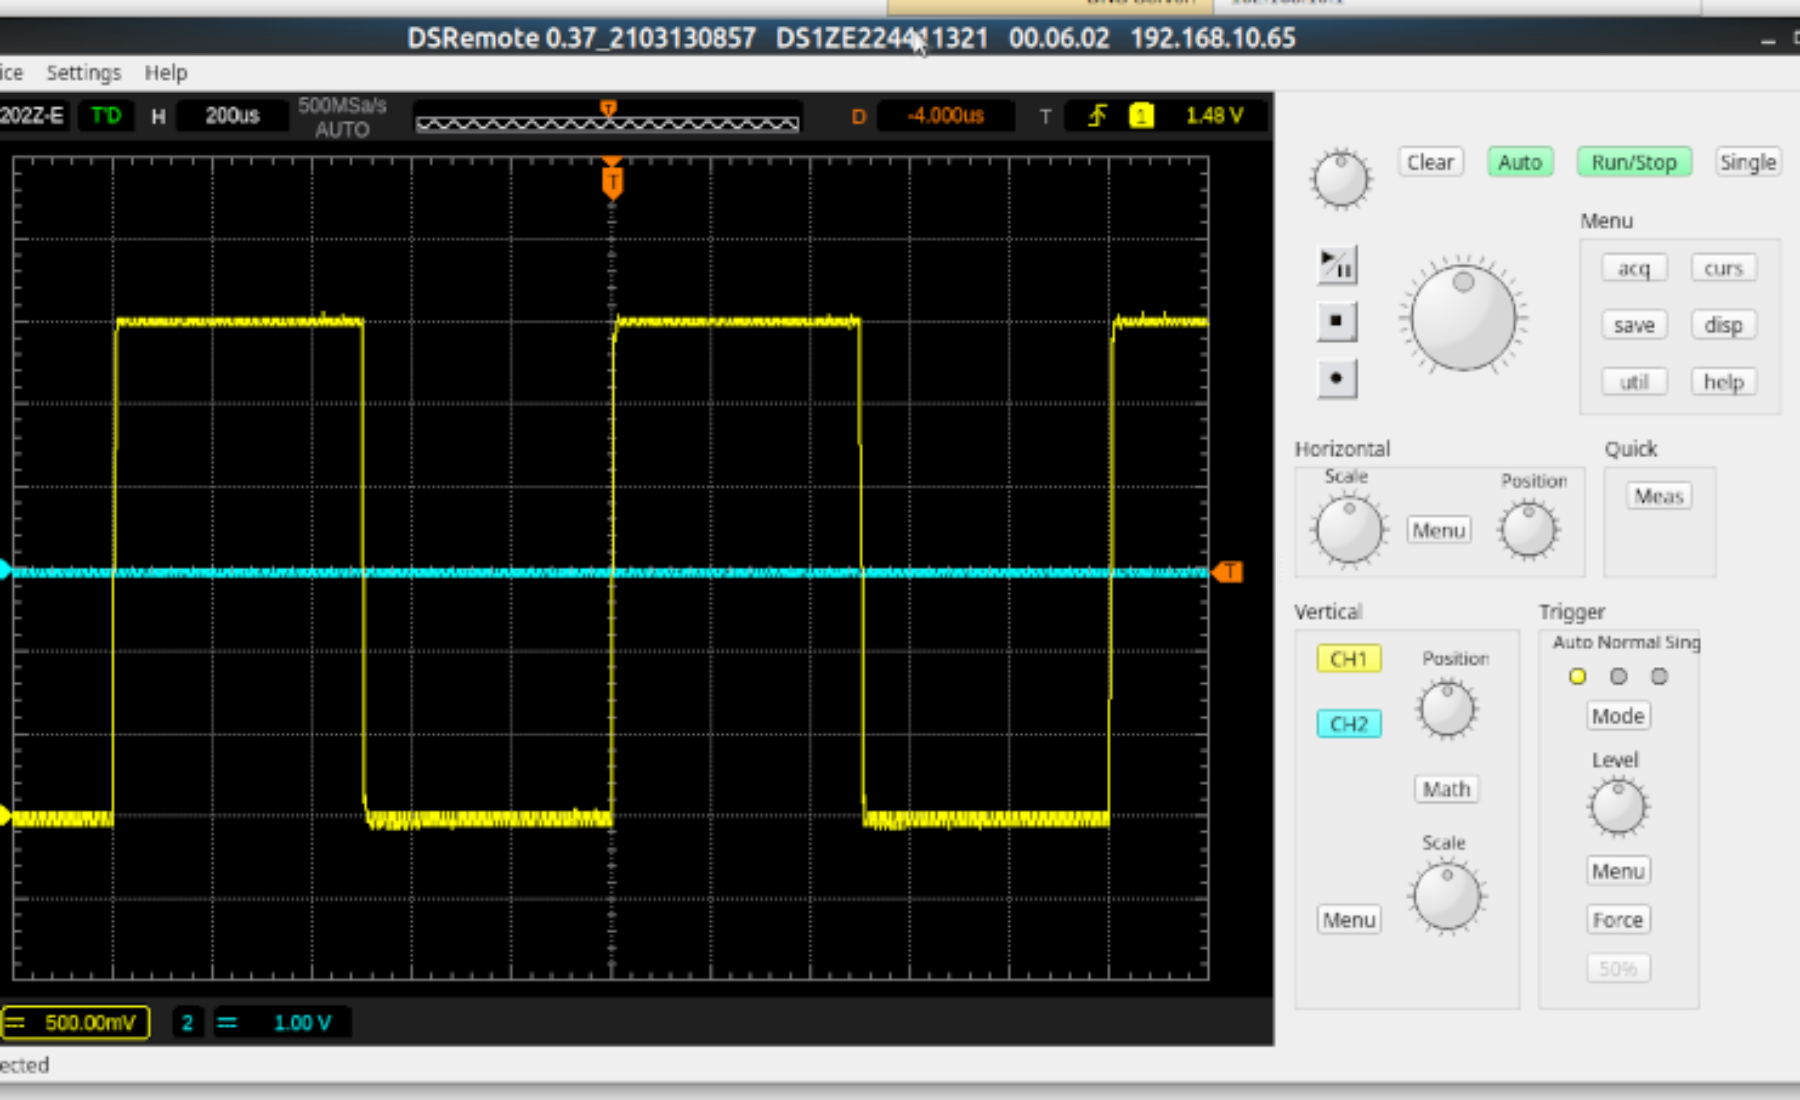
Controll and view Rigol oscilloscope with DS Remote under Linux. I'm using a Rigol DS1202 with Ubuntu 20.10 (Groovy). First install DS Remote: sudo apt-get update sudo apt-get install g++…
FIDO devices are supported by the public key types "ecdsa-sk" and "ed25519-sk", along with corresponding certificate types. This is supported in OpenSSH from version 8.2. Debian Buster (stable) delivers version…
Yubikey is a hardware security device. You can use it for two-factor authentication. Here is an example setup for two-factor login for Ubuntu Linux. I recommend to use at least…
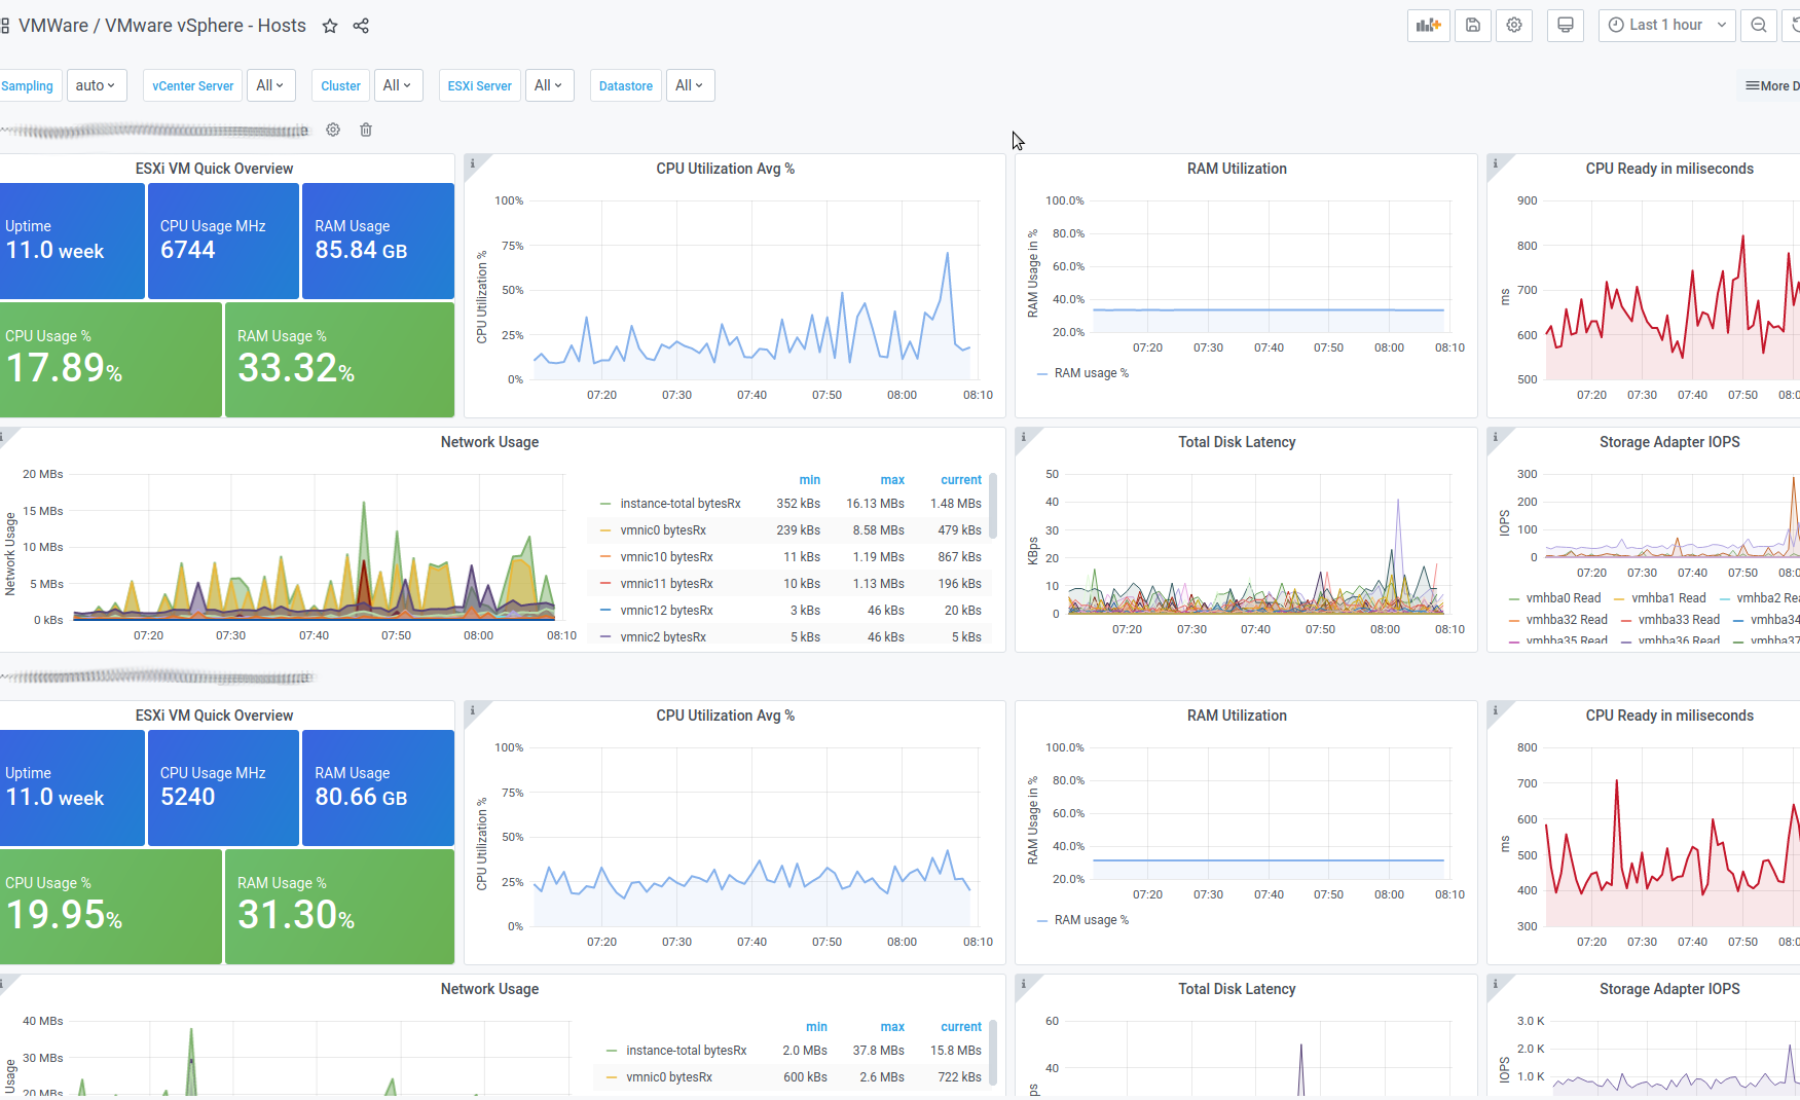
Collector Configuration You need the latest Telegraf version which includes the vSphere Plugin! On Ubuntu or Debian you can get it with: wget https://dl.influxdata.com/telegraf/releases/telegraf_1.14.5-1_amd64.deb sudo dpkg -i telegraf_1.14.5-1_amd64.deb Now add…
Galera give you some nice cluster features. Like true Multi-Master configuration, synchronous replication, conflict detection and impromes the maintenance of your MariaDB servers with automatic provisioning, node isolation and rolling…
Please read part 1 first. Once we have built the search engine, we need a nice web interface for it. I created a simple one with AJAX Solr. You can…
With Cockpit, you can also manage docker containers. Here is a small example setup: Install Docker apt install apt-transport-https ca-certificates curl gnupg2 software-properties-common curl -fsSL https://download.docker.com/linux/debian/gpg | apt-key add -…
Cockpit is an easy and simple remote management software for Linux servers. It is now included in Debian 10 Buster.It runs on several Linux distributions, including Debian, Ubuntu, Fedora, CentOS,…